Open-plan living can feel generous, bright, and surprisingly difficult to furnish. A sofa may divide the room, yet block the path from the kitchen. A dining table can look balanced on paper, then crowd the doorway once chairs are pulled out. These everyday details matter more than a perfectly symmetrical floor plan. How to arrange furniture in an open floor plan depends on how people actually move, sit, eat, and gather in your home.
A practical layout starts with clear zones, not matching furniture sets. Place a rug beneath the main seating group, then use a sofa, console, or low bookcase to suggest a boundary without closing off the room. Keep comfortable walking routes between doors, windows, and frequently used areas. Leave enough space to pull out dining chairs, and check that lamps and side tables are within easy reach. Small adjustments help.
In 2026, flexible rooms remain useful, but trends should not outweigh comfort or safety. Measure the room, note fixed features, and test the arrangement with painter’s tape before moving heavy pieces. Pay attention to daylight, glare on screens, and views through windows. If the first layout feels awkward, revise it. That is normal. Even experienced designers refine a plan after seeing how a household uses the space. The guidance ahead focuses on practical choices, clear circulation, and realistic proportions, while recognizing that no single arrangement suits every home.
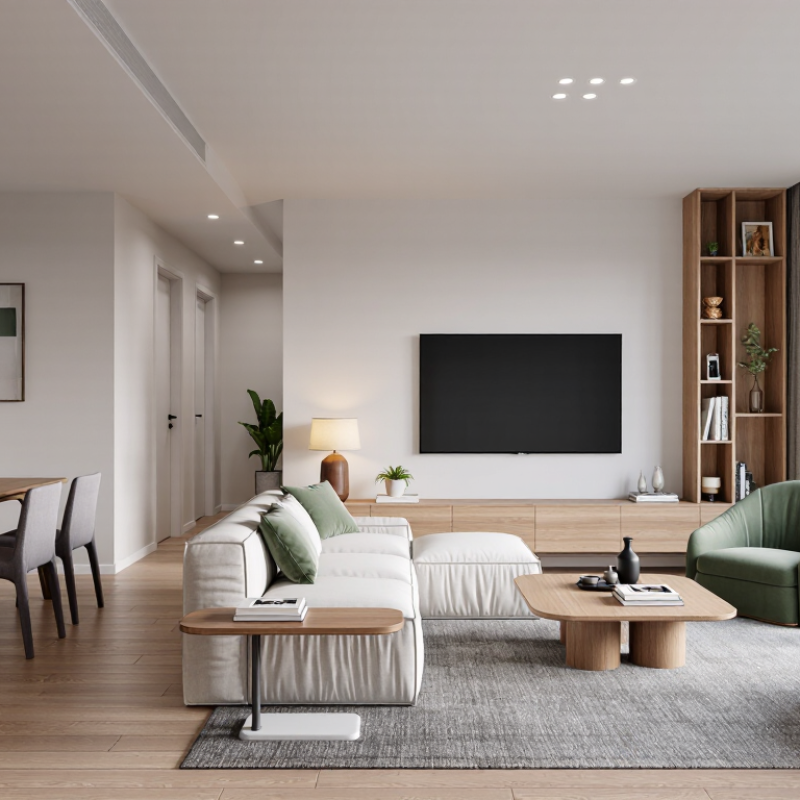
How to Arrange Furniture in an Open Floor Plan in 2026?
Measure the floor plan before moving a single chair. Record wall lengths, door swings, windows, outlets, and fixed heating units. Then draw the room on graph paper or a digital grid. Mark a continuous 36-inch route between entrances, living areas, dining chairs, and kitchen access. The U.S. Department of Justice lists 36 inches as the minimum clear width for an accessible route under Section 403.5.1 of the 2010 ADA Standards. This rule mainly applies to covered public spaces, not every private home. Still, it offers a useful planning benchmark.
Use painter’s tape to mark the route on the actual floor. Keep table legs, sofa corners, and decorative baskets outside the taped line. The 2010 ADA Standards also identify a 60-inch turning space for wheelchair maneuvering under Section 304.3. Leave that larger zone near major junctions when possible. National Kitchen & Bath Association planning guidelines also treat 36 inches as a practical walkway width in residential layouts. Small differences matter.
I often find that a plan looks spacious on paper but feels tight beside a loaded dining chair. Recheck the route with two people walking past each other. Test it at night, too. Furniture shifts. Rugs curl. Real rooms are imperfect. A 36-inch measurement should be the starting point, not an excuse to stop thinking.
| Planning Area | Sample Measurements | Furniture Placement | Clear Route or Clearance | Planning Check |
|---|---|---|---|---|
| Overall open-plan room | 20 ft × 24 ft; 480 sq ft | Use the measured room outline to position the living, dining, and circulation zones. | Mark a continuous route at least 36 in wide where an accessible route is required. | Record doorways, fixed cabinets, columns, and other immovable features before placing furniture. |
| Entry-to-living route | 36 in minimum clear width (3 ft; 914 mm) | Keep the path from the entry to the main seating area free of furniture and loose objects. | Measure the unobstructed width between the closest edges of objects. | Meets the 36 in planning target if kept clear along the full route. |
| Living area | Sample zone: 12 ft × 14 ft | Example sofa footprint: 84 in × 36 in. Place seating to define the zone without blocking the main route. | Keep the marked 36 in route outside the furniture footprint. | Use the actual furniture dimensions when checking the final layout. |
| Sofa-to-coffee-table spacing | Example coffee table: 48 in × 24 in | Center the table in front of the sofa, leaving space for comfortable approach and use. | Allow about 18 in between the sofa and table as a furniture-planning guideline; do not count this as the accessible route unless it provides the required clear width. | Check that the table does not intrude into the marked circulation path. |
| Dining area | Sample zone: 8 ft × 10 ft; example table: 72 in × 36 in | Position the table so chairs can be used without obstructing the route between the entry and living area. | Maintain a continuous 36 in clear route beside the dining setup where the route passes. | Include occupied chairs in the layout check, not just the table footprint. |
| Kitchen-side circulation | Measure the actual counter edge, island, and openings | Keep stools, movable carts, and freestanding storage outside the designated route. | Mark at least 36 in of clear width for the planned route, subject to applicable standards and conditions. | Recheck the narrowest point, including handles and projecting furniture. |
| Final measurement pass | Measure after all furniture is in place | Use painter’s tape to outline furniture footprints and the route on the floor before moving heavy pieces. | Measure clear width at turns, openings, and pinch points. | Adjust furniture if any part of the intended route falls below the planned clear width. |
| Standards note: The 2010 ADA Standards for Accessible Design, Section 403.5.1, generally specifies a 36 in minimum clear width for accessible routes, with stated exceptions. ADA requirements apply to covered facilities and situations; this table is a general planning example, not a determination that a particular home or layout is subject to the ADA. Sample room and furniture dimensions are illustrative—verify the actual floor plan and furniture measurements. | ||||
Record wall lengths, door swings, windows, outlets, and fixed heating units. Measure everything before moving chairs.
Aim for at least 36 inches of clear space. Keep sofa corners, table legs, and baskets outside the route.
No. Accessibility rules mainly cover certain public spaces. In private homes, 36 inches remains a useful planning target.
Try to provide a 60-inch turning area near major junctions. A crowded corner may not work, even on paper.
Mark it with painter’s tape on the floor. Walk through with another person, a grocery bag, and the lights off.
Place a sofa with its back toward the dining area. A low bookcase can separate activities while preserving daylight.
Allow about 42 inches between work surfaces. This helps with open drawers, turning, and carrying a hot pan.
Put stools on the social side of the island. Keep the refrigerator near the entrance for quick access.
A large island may look impressive but create a tight path. Test busy movements before installation, because drawings can mislead.
How to arrange furniture in an open floor plan begins with careful measurement and a clear understanding of how each area will be used. Start by mapping the floor plan, identifying entrances, windows, and fixed features, then mark routes that maintain at least 36 inches of clearance for comfortable movement. Divide the room into practical zones, such as living, dining, work, and cooking areas, while keeping their functions connected without making the space feel crowded.
Place sofas, tables, and storage pieces so they guide movement naturally between zones rather than block it. In the kitchen, allow a 42-inch aisle for one-person cooking and safe access to cabinets and appliances. Finally, test the layout by checking whether a 60-inch turning space is available where movement changes direction or accessibility is important. This approach creates an open floor plan that feels organized, functional, comfortable, and easier for everyone to navigate.

 Living Land Furniture